Hi guys, so in this tutorial, I’ll share a step-by-step guide on how to use the free version of Google Cloud Platform to run your programs, especially Python programs.
I’ve actually been thinking about writing this for almost six months now. It started when I needed to run some of my code for my undergraduate project, and I ran into all sorts of issues: the program took too long to run on my PC, it needed more RAM, and it couldn’t run on Google Colab either.
I’m mainly writing this for my own documentation because I’ve gone through this setup process several times, and it’s always a bit of a headache to keep searching for tutorials every time. I tend to forget some of the steps or commands 😅.
So just to be clear, I’m definitely not an expert in this field. Most of what I write here is the result of reading different articles online and a bunch of trial and error. That said, I hope sharing it here can help someone else too. Let’s get started!
Google Cloud Overview and its Free Tier Limitation
Based on its official page at https://cloud.google.com/ and Google Cloud overview | Overview, I would say, basically google cloud is a cloud computing service provided by Google. Then, what’s cloud computing? In short, It’s computing service that provide things like servers, storage, databases, AI/ML related service, and many other services over the internet, or called “cloud”.
This means that instead of running everything on your own “local” computer, your code and data are processed on Google’s servers located all around the world. Your data just travels back and forth through the internet.
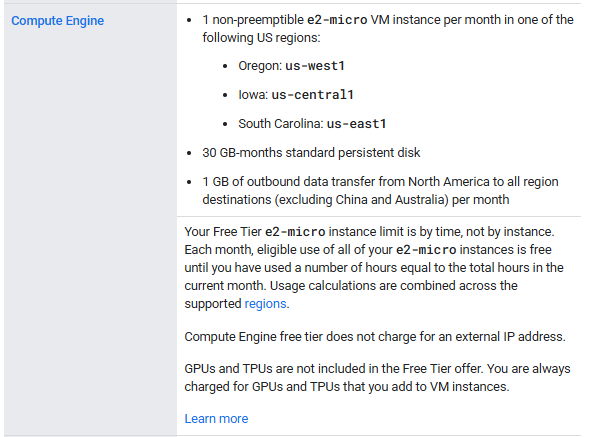
Google Cloud is primarily a paid service, widely used by businesses and large organizations. However, it also offers a free trial and a free tier version, which is great if you just want to run your own programs and learn without spending money.
Of course, there are quite a few limitations to the free version, but I think Google has been pretty generous! It’s actually more than enough for my needs (sorry Google, I may or may not have reapplied for the free trial using different accounts several times ✌️).
You can find the full list of what’s included here: Free cloud features and trial offer | Google Cloud Free Program.
Now that I hope you understand about its limitation and would like to proceed, let’s continue.
Account Setup
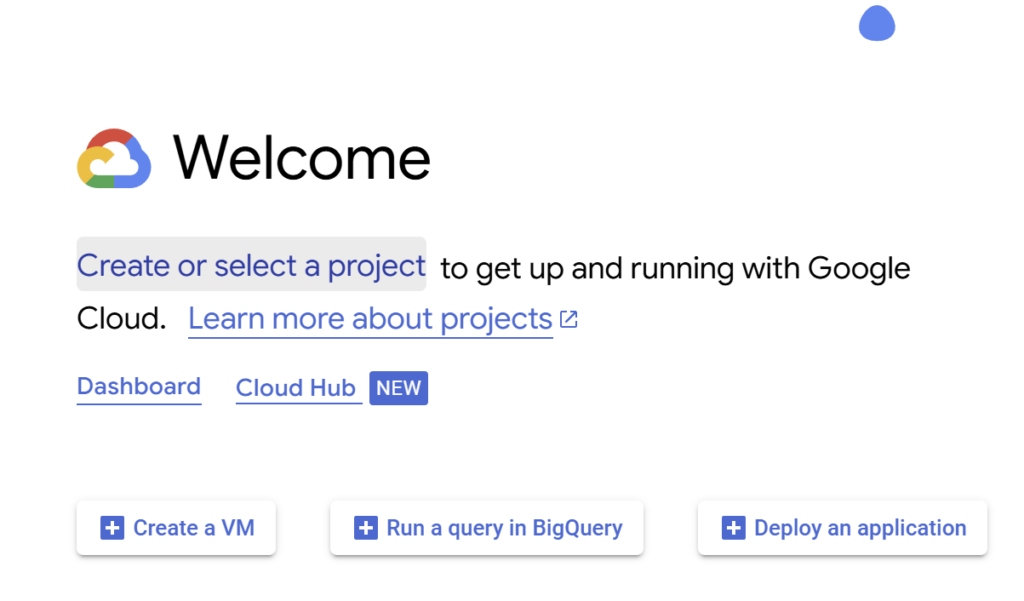
So first, head over to the Google Cloud homepage and click “Get started” or sign in if you already have an account.
Next, go to the Cloud Console and either create a new project or select an existing one. A project is basically a container used to manage all your Google Cloud resources (ike enabling APIs, setting up billing, adding collaborators, and more.
You can choose any project name because you can also edit the project name after the project is created. More about google cloud project here.
Once your project is ready, it’s time to create a VM or Virtual Machine (make sure you configure your billing account), and then enable the Google Compute Engine API
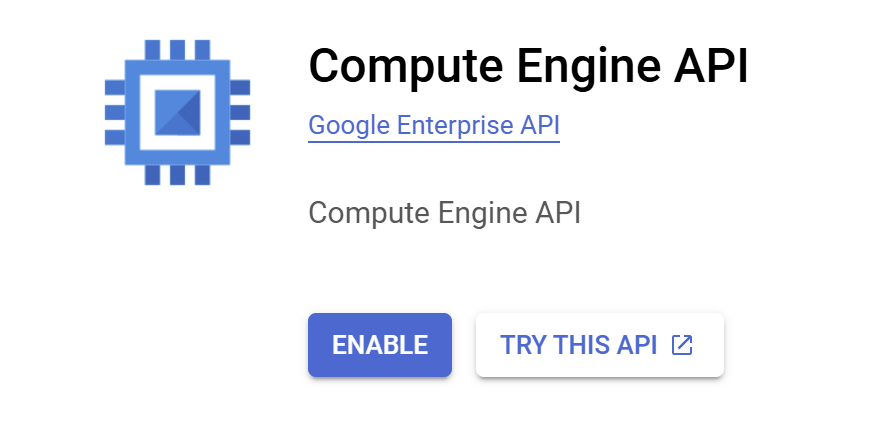
This process might take a little time. After that, we’ll move on to creating the actual Google Compute Engine instance, which allow us to craete the virtual machine running on Google’s infrastructure. The setup will look something like this:
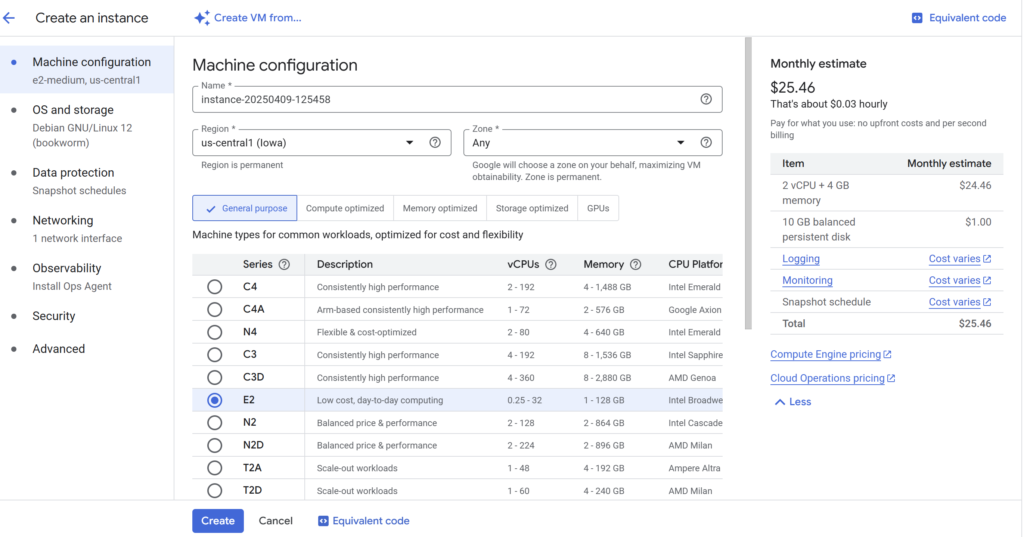
As I mentioned previously, I’m not really an expert in this field, so I don’t fully understand all the technical terms either. At this step, you’ll need to configure a few basic things: the name of your instance, the region, and the technical specs of your virtual machine.
There are lots of configuration options depending on what you need, but since we’re using the free tier, our choices are quite limited. For example, you will not be able to choose VM with GPU and TPU, and the configuration of the RAM and CPU is also limited. You can check the exact free tier specs here on the official website.
Now we have successfully creating the compute engine and it should looks like this:

There are a couple of way to access your VM. Here I will use the most straightfoward way by directly click the SSH below “Connect” column.
Install Anaconda/Miniconda Environment
Since in this tutorial I’ll be running a Python program, the first thing we need to do is install the Anaconda or Miniconda environment. If you’re not familiar with it, Conda helps you manage your Python dependencies in an organized way, so you don’t run into version conflicts between different libraries or Python versions.
mkdir -p ~/miniconda3

wget https://repo.anaconda.com/miniconda/Miniconda3-latest-Linux-x86_64.sh -O ~/miniconda3/miniconda.sh

bash ~/miniconda3/miniconda.sh -u
Install and Configure Git
The next step isn’t strictly necessary. It’s mostly useful if you’re working on a larger project with multiple files. It helps you easily transfer your code between your laptop, GitHub, and the VM instance.
If you’re just running a single simple .py file, you could totally get away with writing it directly in the terminal (lol) or copy-pasting it. But in my case, since the program is a bit long and spread across several files, I’ll use Git to manage the code. So first, let’s install Git on the VM:
sudo apt update

sudo apt install git

git --version
Now that Git is installed, go ahead and configure it with your account details:
git config --global user.name "<Your Name>"
git config --global user.email "<Your Email>"
I won’t go into too much detail here since this part isn’t the main focus of the tutorial and also depending on your setup or platform, it might vary slightly. Once that’s done and your VM is ready, it’s time to clone your repository:
Clone Repository
git clone <your-repo-url>Install Dependencies
After cloning your project, the next step is to install any required dependencies. For example, in my case, I need some libraries related to quantum computing:
pip install openfermion qiskitOnce that’s set up, you’re pretty much ready to run your program. However, one of our goals of using Google CLoud here is to run long-running program without having to stay connected to the terminal the whole time. Therefore, we will use python “screen” to make the program running in the background even if we disconnect from SSH.
Use “screen” to Keep Your Program Running
Now you can run your Python script inside the screen session:
screen -S my_sessionTo detach the screen, press: ctrl+a+d
Then to reattach the screen, first see the current available screen by command:
screen -lswhich will show the running process. For example, to reattach screen that we previously close/detach (for example with id: xxyy) is by running:
screen -d -r xxyythen you will go back to the previously closed terminal session.
Now run your program!
Now you can run your Python script inside the screen session:
python your_script.pyNow you can close the terminal, go to sleep, grab a cup of coffee, or do other things while your program runs in the background.
After a while, you can reconnect using SSH, reattach the screen session (as mentioned earlier using the screen -d -r command), and check your results. In my case, since I usually save the output in JSON or PDF chart format, I often push the project to GitHub, then either view it directly there or pull it to my laptop for further analysis. That’s all, thank you! 😄
Leave a Reply